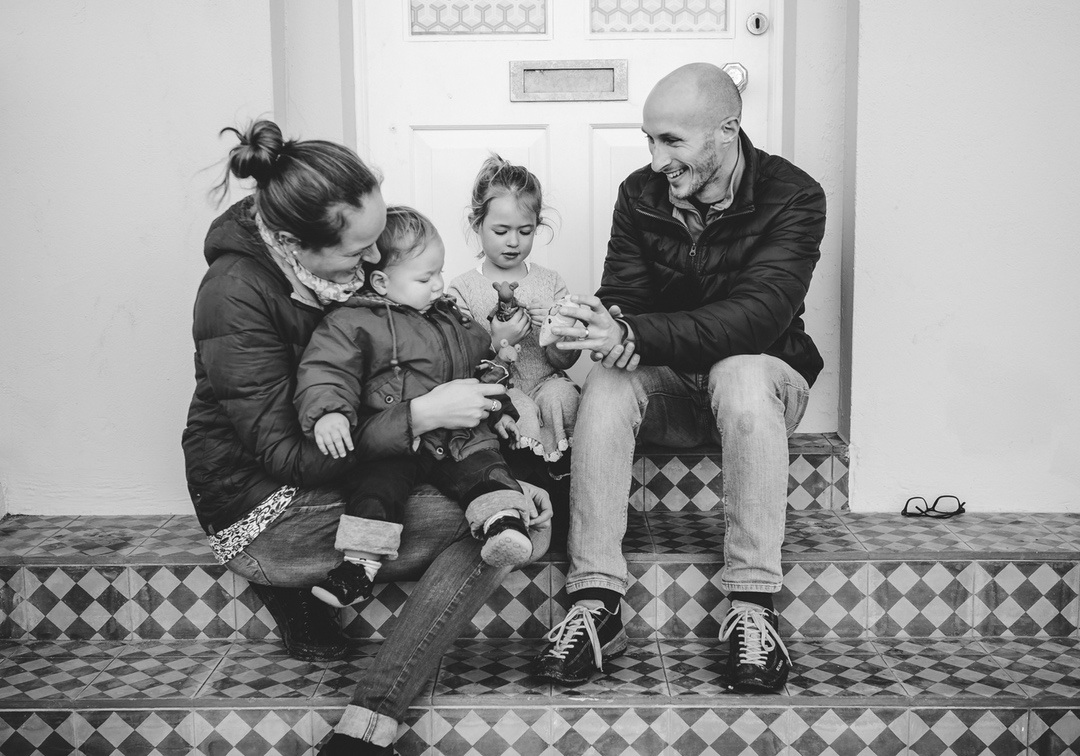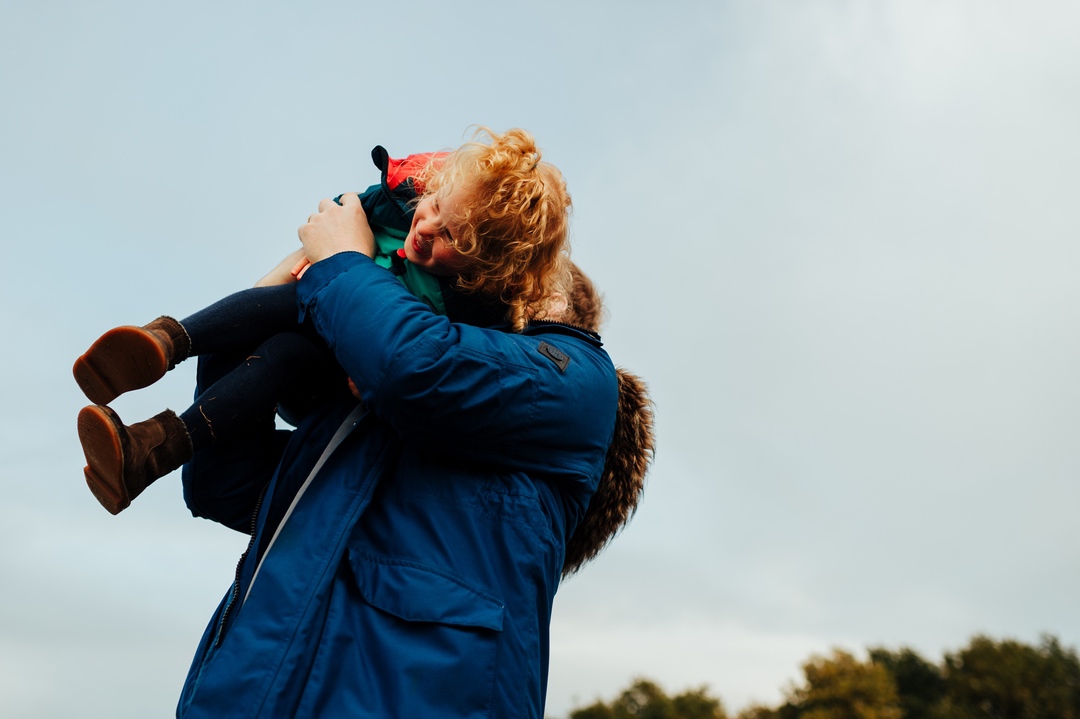
Want to know how to take better photos of your children?
Here’s my top 10 tips for photographing children – they are simple things you can try today to improve your family photos and I use them all the time when I photograph children during family sessions 🙂
ONE: Go with the flow
How long do you expect your two-year-old to stay in one place?
Your children won’t stay in one place for long, so don’t try too hard to get them to sit / stand in the perfect spot for the photo.
A better approach to photographing your child is to give them something to do and just roll with it.
Have your child interact with your husband or wife (whoever is not taking the picture) as they normally would and you will be rewarded with great, natural-looking photos of your children
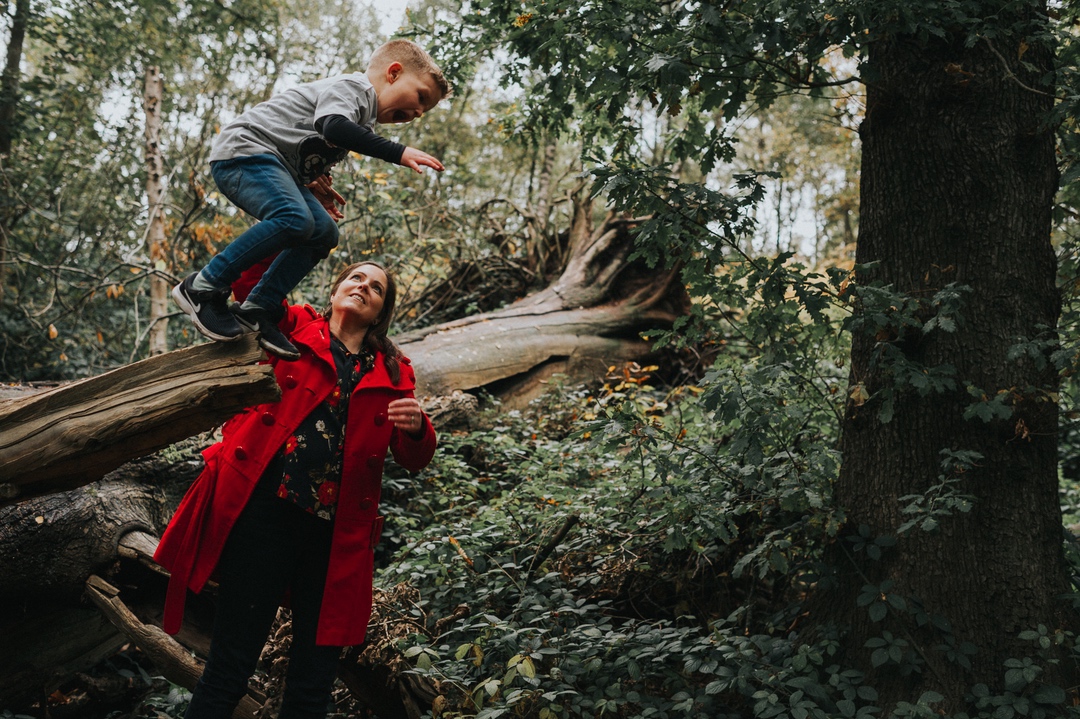
Do something fun with them- tickle or chase them, pick them up and carry them on your shoulders or throw them up into the air.
Once this happens, your children will be completely unaware that you are taking photos of them.
TWO: Shoot bursts of frames
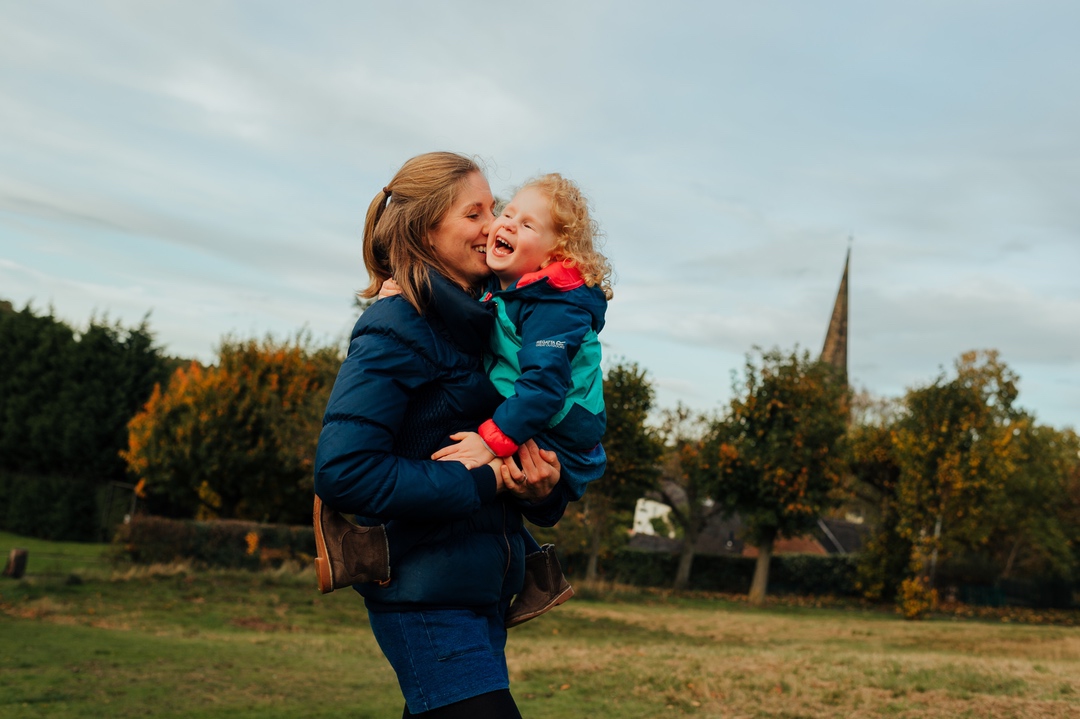
Children are unpredictable and like to move about quickly. So it’s best to set your camera to fire a burst of frames with continuous focus tracking on. Most midlevel cameras will be able to do this.
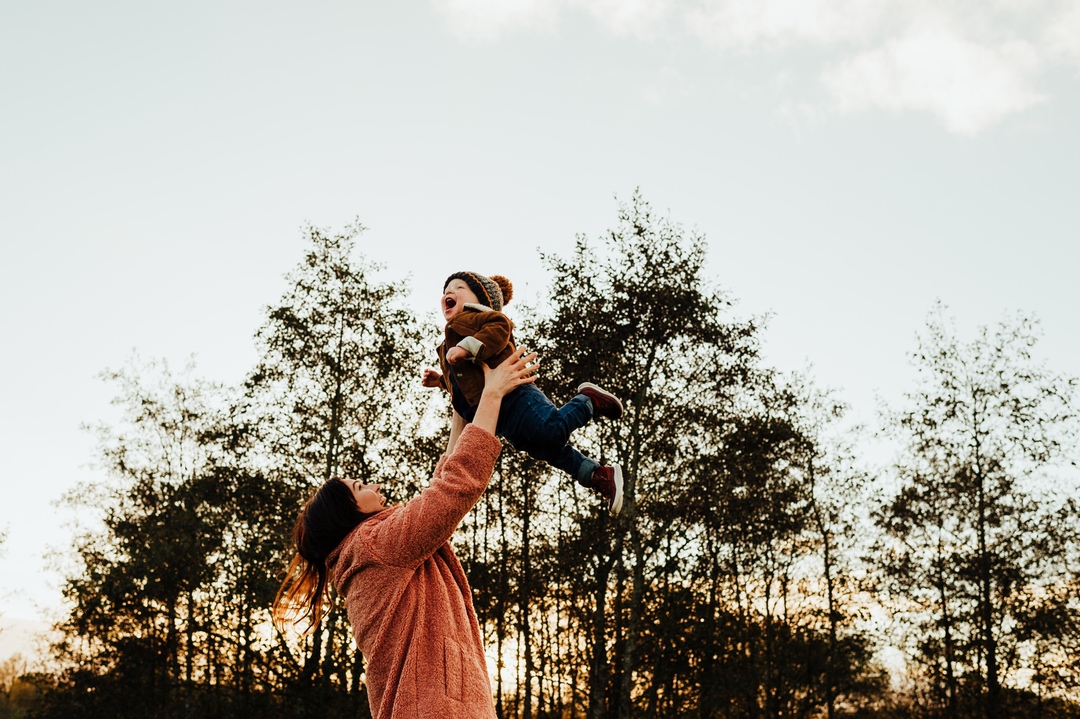
The shot above would have been really hard to nail focus if you were only able to capture the odd frame every second – your timing would have to be perfect. When you’re able to rattle off many frames in a second you up the chance of getting a ‘keeper’.
THREE: They don’t need to smile
Every parent likes a smiley photo of their children, but it’s not something that should be forced.
You’ll want to remember what they were actually like right? So capture their mannerisms, temperament and something of their character by resting on capturing genuine moments in amongst the picture perfect photo opportunities. Just let your child be and you’ll be surprised at what you’ll capture.
FOUR: Get down to their level
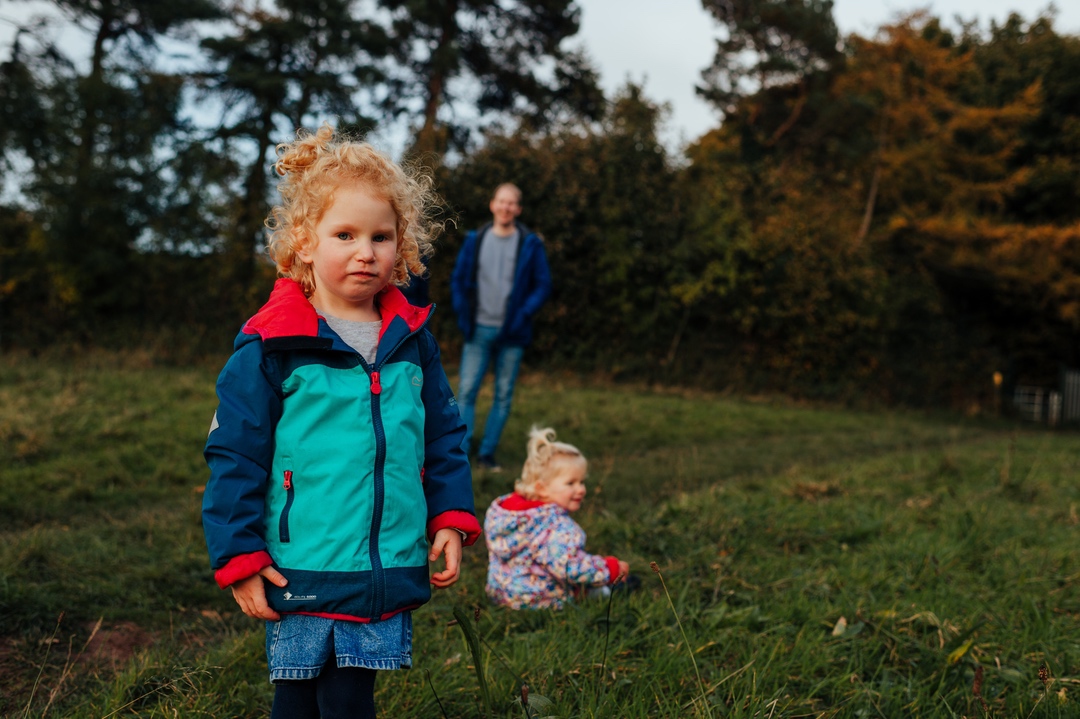
One of the best ways to photograph your children is shoot from their view point.
Get down and shoot with our camera at their eye-level. This is the simplest change you can make and it will create a lot more connection in the frame than if you took the shot from your level looking down at them.
Try it and see.
Although sometimes shooting from above can be used really well too if you want to emphasise their scale 🙂
FIVE: Don’t tire them out
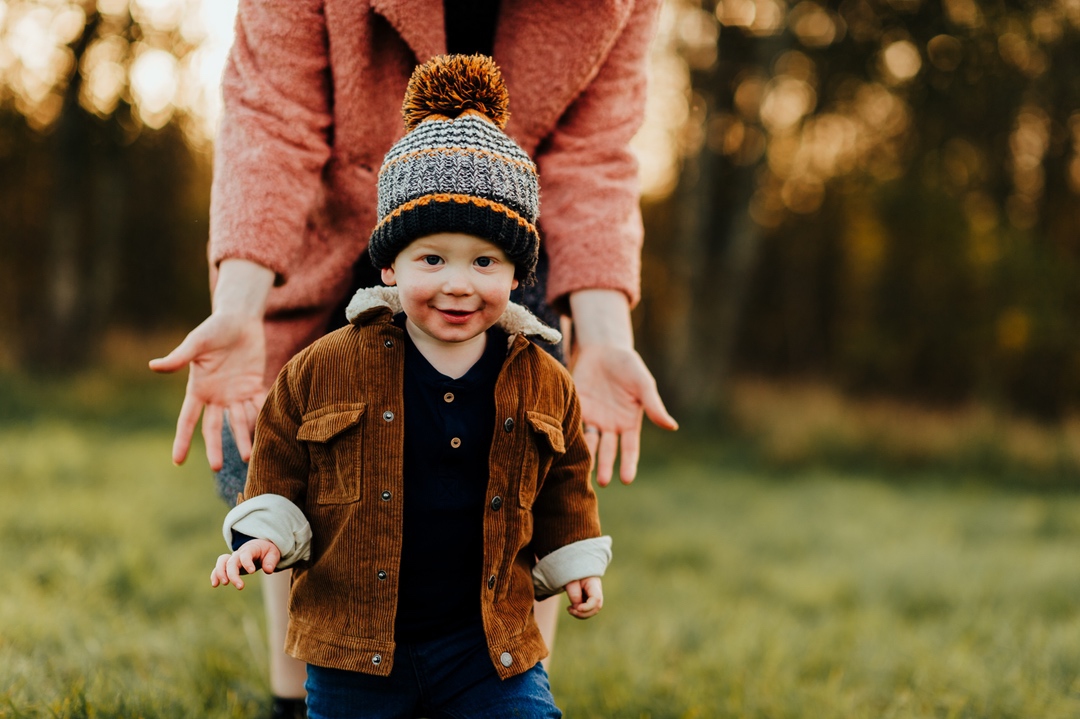
Know when to stop. It will be tempting to persist in trying to get a particular shot, but when your child is no longer in the mood because you’ve exhausted them, it’s better to try again on a different day. The last thing you want to do is make your child think ‘Oh no, Dad’s got the camera out again- RUN!’. So just be patient and choose your moments. (I speak from personal experience on this one)
SIX: Find good light
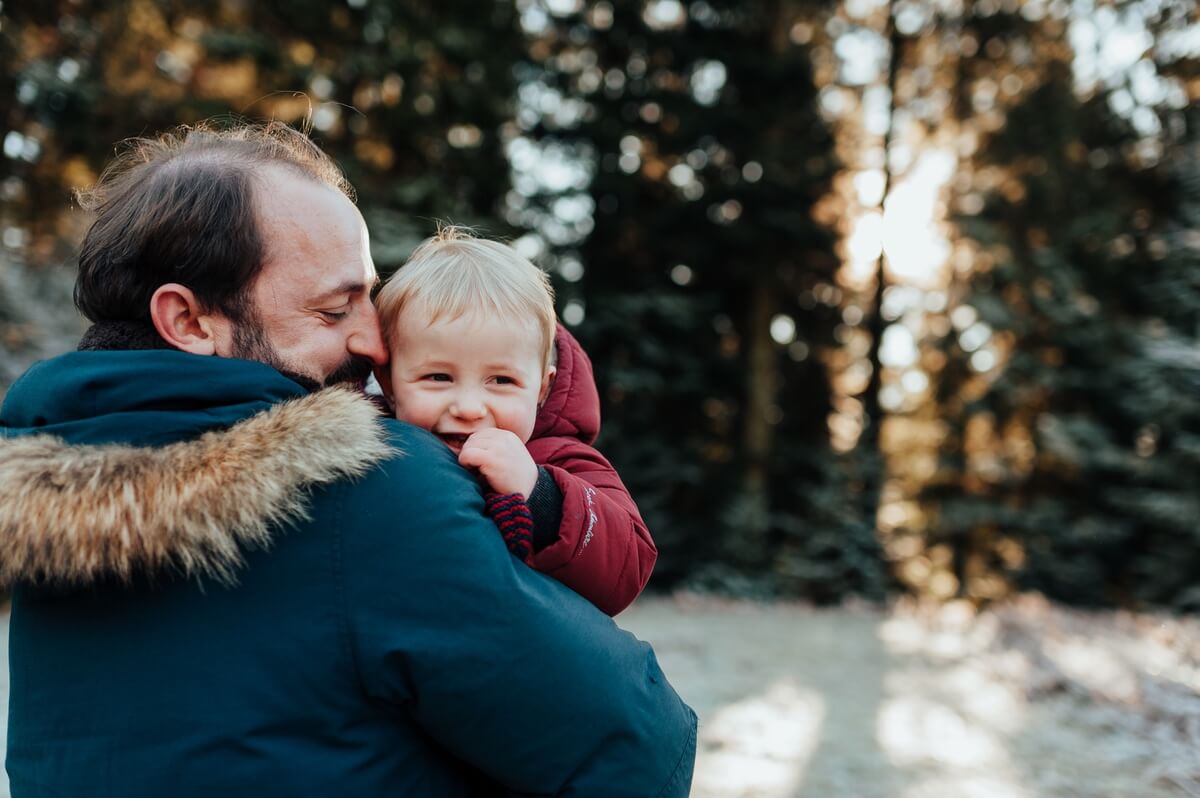
The best light for photographing children is ‘soft’ light. That’s light that has warm character and that doesn’t create harsh shadows, giving the light its flattering quality.
You’ll recognise it when you see it.
Light is softest towards the end of the day, around 2-hours before sunset. At this time, the light is much less intense and is at a lower angle in the sky and this is what photographers call ‘golden hour’ (add that to your vocab now).
If you are shooting in the summer, you’ll be waiting a while for golden hour because it might be later in the evening than your children’s bedtimes allow. So if you are shooting in the day try to do it as late as possible and perhaps find some shade in the tress but lookout for hotspots (where patches of strong light break through the tree cover which causes uneven exposure on your child).
Autumn/ winter is a great time to be out shooting. At this time of the year the sun sits low in the sky throughout the day, compared to summer months. This naturally creates a ‘golden hour’ look for most of the day!
So get out there with your family now and start shooting 🙂
(Bonus tip- If you can’t find soft light, let’s say the sun is too harsh and you’re having to shoot in the summer find some shade, but be aware of hot spots)
SEVEN: Use wide apertures
Here’s where it’s at if you want to know how to photograph your children with a professional edge.
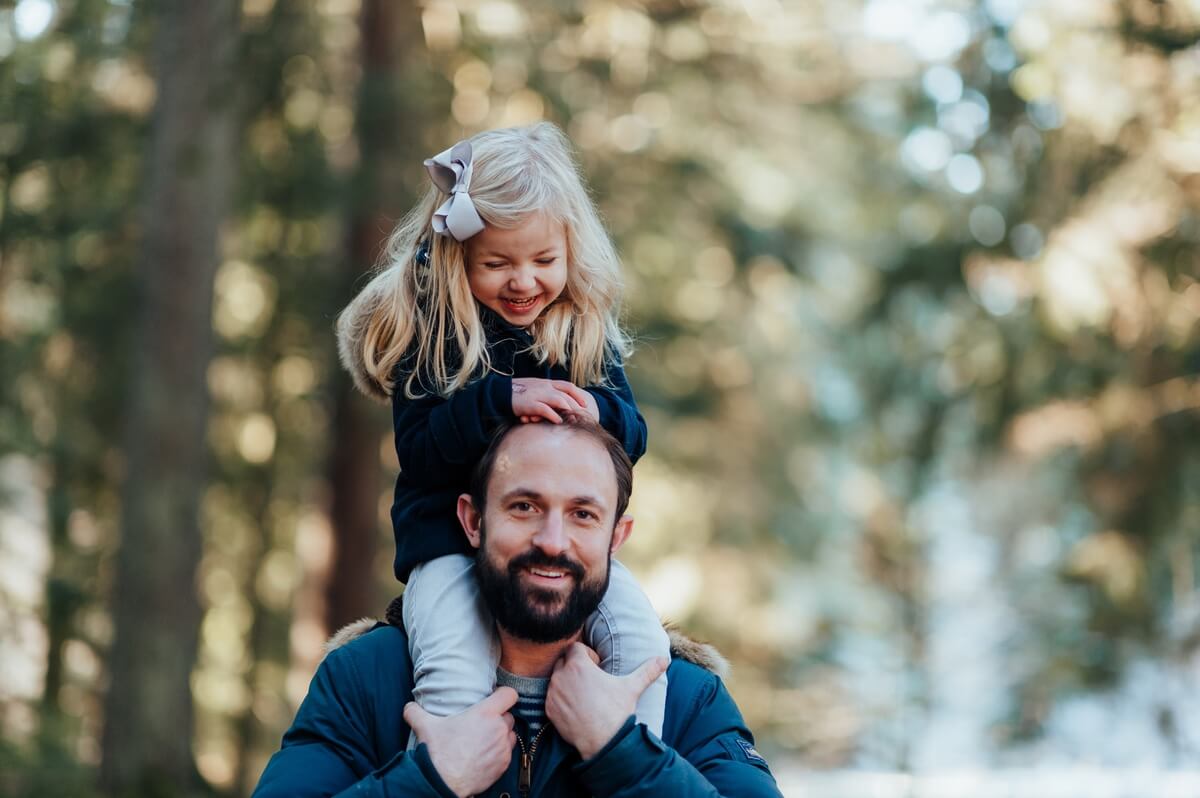
Shooting at a wide aperture helps you to create a shallow depth of field. This separates your subject from the background making them standout, giving your images a three-dimensional feel.
It also creates tonnes of gorgeous bokeh- blur produced in the out-of-focus parts of an image which provides an artistic quality to your photograph (a sort of dreamy look).
You can achieve this using a lens that has an aperture lower than f2.0 and images look more striking with a telephoto focal length.
(Using the zoom lens that came with your camera won’t cut it for this look, but if you want tips on what lens would work well for your camera, get in touch)
EIGHT: Choose a simple background
A busy background can be distracting. It’s important to remember if something is in the frame that doesn’t add to it, it takes away from the image (some clothes can be distracting too).
You’ll be more aware of this when you’re taking photos of your children around the house. Have a quick scan of the room and pop away anything unsightly in the background.
There will be fewer distractions out in the open like a park, but be mindful not to accidentally include a bin in the frame, or if you are in a woodland that’s really dense, try not have a tree trunk poking out from one of your children’s heads (when I was learning my craft this was something I only tended to notice after getting my pics off the camera!).
When out and about if you can’t find a way to rid your self of distractions, find another spot, or if you shoot at wide aperture with a medium-long focal length you can practically shoot anywhere if you have have enough working distance because you can render the background well out of focus.
NINE: Shoot quickly
Get your camera settings in the right range before taking the shot- you can then quickly adjust exposure as you go.
Visualise the shot before you take it. Nail it and move on.
Try not to get the ‘perfect’ shot by taking similar shots repeatedly and trying to make minor improvements each time until your perfectionism is satisfied. This will really break the flow of the shoot and it will make your children feel very aware of the camera.
A note on pre-visualisation. I’ve found using prime lenses (fixed focal lengths) really helps with this because when you’ve been using them for a while, you learn to see see a frame as a particular lens would capture it.
TEN: Enjoy it!
The most important thing is that you enjoy it. Remember why you are doing it in the first place. It’s not purely because you want photos that you are going to sell but because you want to capture your family at their best.
You’ll get better with practise!
And if you can’t wait to have better photos of your children, you can always book me for a family photography session 🙂
ABOUT NATHAN WALKER PHOTOGRAPHY
After I married my wife Delphine, it was only a matter of time before there was a baby on the way… and that’s where my photography journey started!
Inspired by seeing all the dreadful, cheesy and staged family photos that spam-up social media, I wanted to document family life in a way that didn’t make me cringe!
So, I got busy with my camera and learnt how to take proper good photos. Someone once said ‘never work with children or animals’, Oh well- I LOVE IT! 🙂
That’s some of us below. We’ve just had twin boys, so now theres 6 of us! I’ll be needing to get some more family photos done myself soon!